Bonjour Everyone!
Today I will share with you my first experiance of PERMANENT NAIL POLISH MANICURE AT HOME and a little TUTORIAL in case if you would like to try it as well.
Last year I was considering finding a classic manicure training course, to improve my over all beauty knowledge and, maybe, offer a new service as a compliment to make up application. And this is another proof that if you really want something to happen and believe in yourself, your dreams will become a reality.
While we were visiting our friends in France, I was offered to take the UV light and some tools for manicure home with me, as they have a baby boy now and there wasn't much time for her to practice nail art. I was really happy about this gift as I was considering to learn proper manicure anyway and this was like a little push from the inside that made me understand that I am going on the right way with my little beauty obsession. :)
Of course, I am only at the start of my journey and for now I am working a 9-5 job so it is not possible to be a full time makeup artist, but I know and I am confident that beauty industry is the direction I want my carrier to head in the near future.
My First Experience
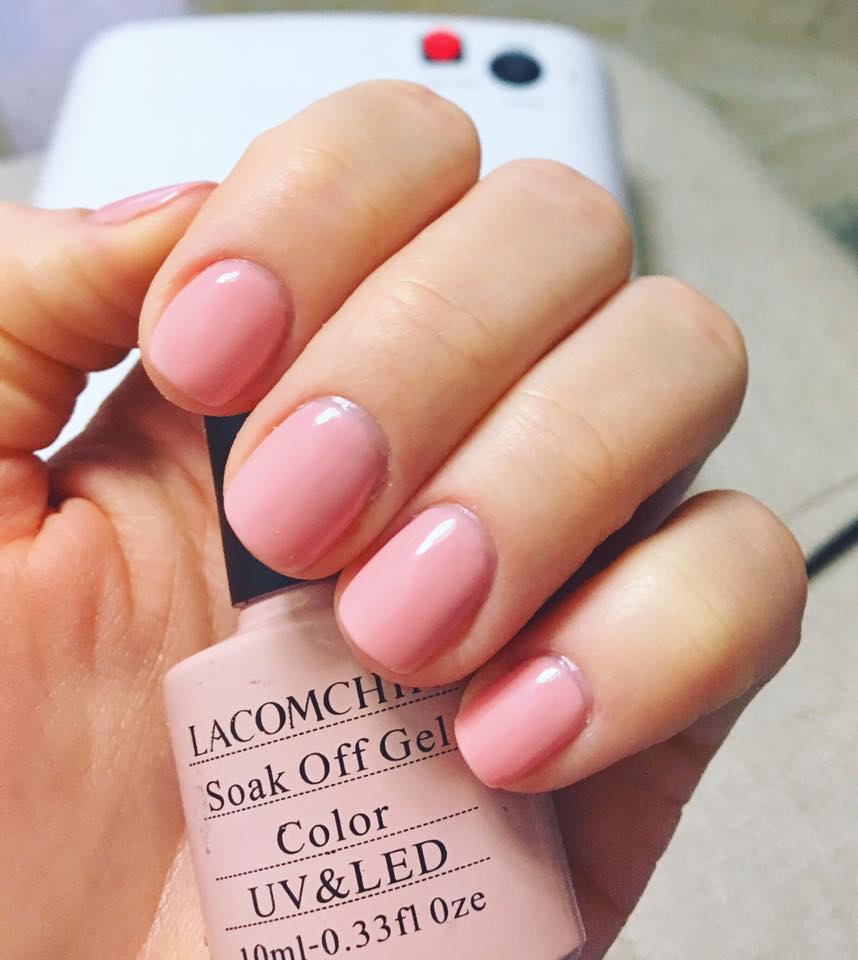
I bought all the other necessary tools in ONIKS BETA store, Galerija Riga, including 3 gel polishes - light pink, cherry red with shimmer and very dark plum with blue shimmer. Wonderfull Sales Lady helped to pick me everything and I managed to buy most products with great discounts. My first try was the pink shade as it is easier to hide mistakes with such a soft shade. My left hand ended up with nice and tidy manicure, but right hand was a bit too sheer so it started peeling little bit on the sides. It is quite difficult for a starter to apply manicure with left hand, but practice makes perfect. I wore that manicure for one and a half week, but I am sure I could easily walk at least an extra week if my right hand manicure would have the same thickness as the left one.
Here you can see the result of my first try.
How to apply gel nail polish at home
And the answer is: the same way they do it at the salon, you have to follow the same step, the only difference is that you get to be in your comfy slippers and watch your favorite TV show.
1. STEP: Prepare your hands
Make a warm, slightly soapy bath for your hands. This will soften your skin and it will be easier to move the cuticles from surface of the nail. After soaking your hands for 10 minutes, dry them in a soft towel and start preparing your nails.

- Use the cuticle remover stick to gently push down, off the nail surface.
- If there is any flaky skin around the nail, cut it with tongs.
- Use nail file to shape the nail in your desired form.
- Use nail polishing file for making the surface matte. Mostly, manicure specialists in beauty salons are using the simple nail file to polish the surface, but it makes the nail really fragile and can damage. Yes, I understand, if you are applying false nail extensions, like acrylic nails or gel nails, it might be necessary, but we are going to apply gel polish which will last 2 - 3 weeks maximum. Nail polishing file worked excellent for me and my polish was lasting without causing any problems.
- After it is all done, dust off nails with a brush (or just clean them with a dry towel).
2. STEP: Apply the gel polishes

- Firstly, apply ORLY SMART GELS Nail Tip Primer. It is not a polish, but watery liquid, that will make your nails matte by removing any natural oiliness left on the surface, it will make your polish long lasting. Let it dry for a minute.

- Then apply one layer of ORLY SMART GELS Base+Top Coat. It applies really easy, same as your regular nail polish, just a bit thicker. Make sure that you are not painting in your cuticles or on top of skin, keep it half of a millimeter far from cuticles. Seal the top edges of nails as well. Be careful, so no dust or hair sticks to the polish, at this point you might want to kick your cat out of the room. :) When you are done, treat it in UV lamp for 120 seconds. (There are 2 options - 90 and 120, I go for maximal time just in case...)

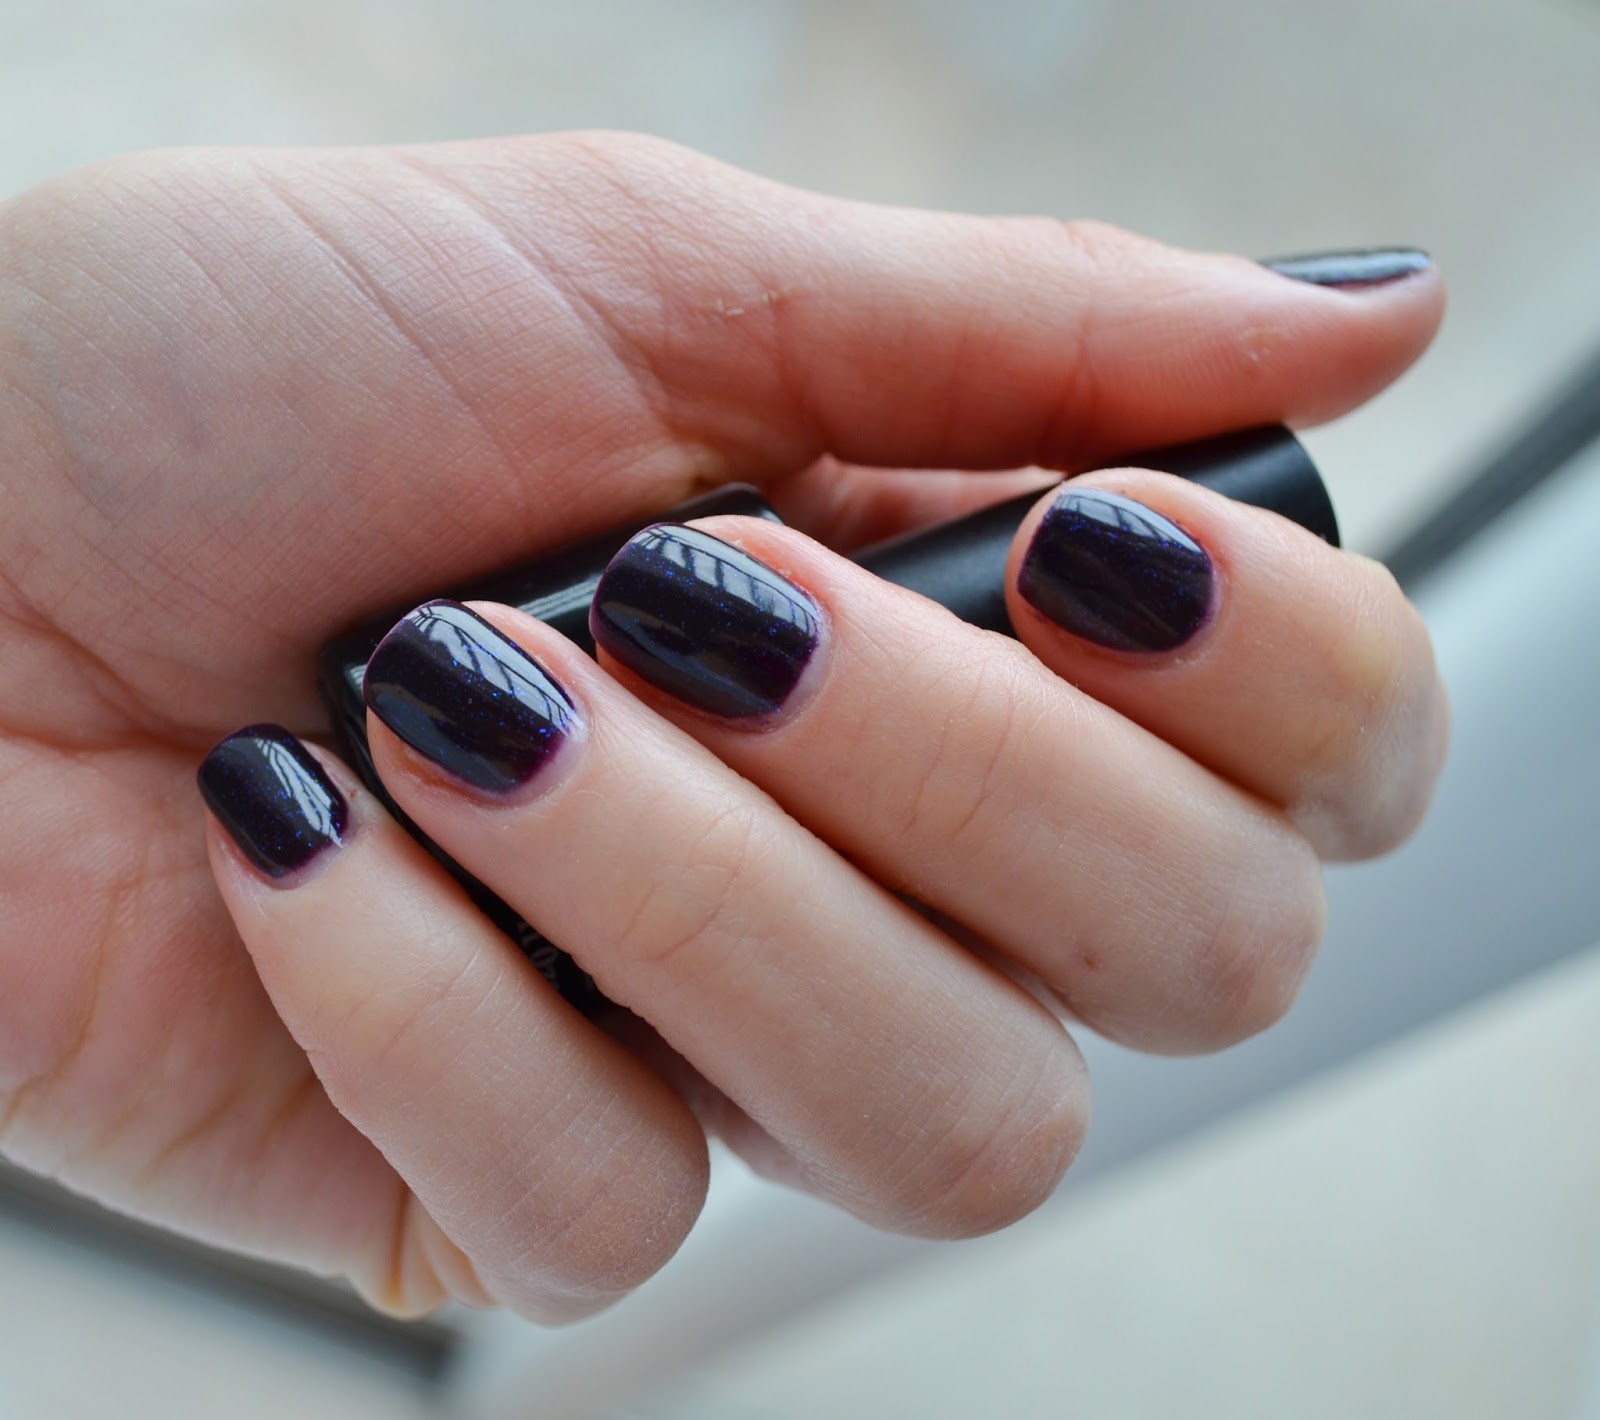
- Now you are ready to start building the color. This time I choose the dark plum polish - LACOMCHIR Soak Off Gel Color. It was thicker so it needed only two layers of color. Apply exactly were you have the base coat, don't go over it. Try to create nice and tidy boarder, it can take time, but don't worry as it is gel polish and it wont start drying until you will place it in the UV light. I applied 2 layers and treated each for 120 seconds. You can see first layer in the photo below.

- When color looks rich and even, you can apply ORLY Smart Gels Base+Top once again and treat for another 120 seconds. You will notice that the surface of polish is still sticky and might think it is not dry yet, but that is only the 'excess' layer that has to be removed with alcohol. I used simple cologne and cotton ball, after this short procedure your nails will be super-shiny.


Voilà! You have your manicure ready for the next 2-3 weeks. Here you can see the final result. It is only my third time using this system at home, but after all those long visits at the salons I feel that I have more or less the necessary knowledge of gel polish application. Yet still I would like to attend professional courses to learn more and be able to provide this service for my clients.
I have also applied gel polish pedicure for myself and I will share some at-home-pedicure tips with you soon. If anyone has some good tip or advice, please comment below or send me a private message.
PRICES:
ORLY SmartGel Base+Top: 9 USD
ORLY SMART GELS Nail Tip Primer: 6.95 USD
LACOMCHIR Soak Off Gel Color: , Buy in ONIKS BETA stores
UV Light: 30 - 50 USD, click here for amazon.com
DISCLAIMER: If you are using my tips and tutorial, remember, that I am not a professional manicure specialists, so be responsible and don't do anything you are not sure about. There might be mistakes in this post, I am sharing only my own personal experience.
UV lights are still considered as dangerous to the skin, same as the sunbeds and long exposure might cause skin cell damages and mutations that can lead to cancer.


Great, there's so much inoformation to know even I didn't even know few things that I found here. This website - Vioz Academy also provides so much knowledge about beauty industry. Also, the best makeup academy in Delhi - Vioz Academy
ReplyDeleteNice article best beauty parlor in hyderabad I think it is useful and unique article. I love this kind of article and this kind of blog. I have enjoyed it very much. Thanks for your website.
ReplyDeleteAre you looking for the best studio for Lashes Missouri City
ReplyDeleteClick on the link
Are you looking for the best studio of Permanent Makeup Houston
ReplyDeleteClick on the link
Nail technicians with years of experience work at K Nail and Spa. To maintain the health of your fingernails and toenails, a manicurist will trim, polish, and clean them. The beauty industry’s manicure and pedicure services segment is expanding. Read More.
ReplyDeleteAre you passionate about nails and seeking the Best Nail Academy in Delhi? Look no further! Our academy offers comprehensive training programs taught by industry experts. Learn the art of nail care, manicures, pedicures, and creative nail art techniques in our state-of-the-art facilities. With a focus on practical experience, we ensure you gain the skills needed to excel in the beauty industry. Join the Best Nail Academy in Delhi and unlock your potential. Start your journey towards a successful career in nail care today!
ReplyDeleteI enjoyed your tutorial, but the right gel nail polish right gel nail polish is key for best results.
ReplyDeleteBest pedicure Services in Houston
ReplyDeleteLooking for a clean and affordable nail salon in Houston? Enjoy quality pedicures and the best facial treatments at Uptown Galleria Nails & Spa. Book today!
To Get More Information - Uptowngallerianails.com